

Happy Holidays!
(Trigger Warning: Grief & Loss) to skip the story click HERE (some mobile phones you have to click twice)
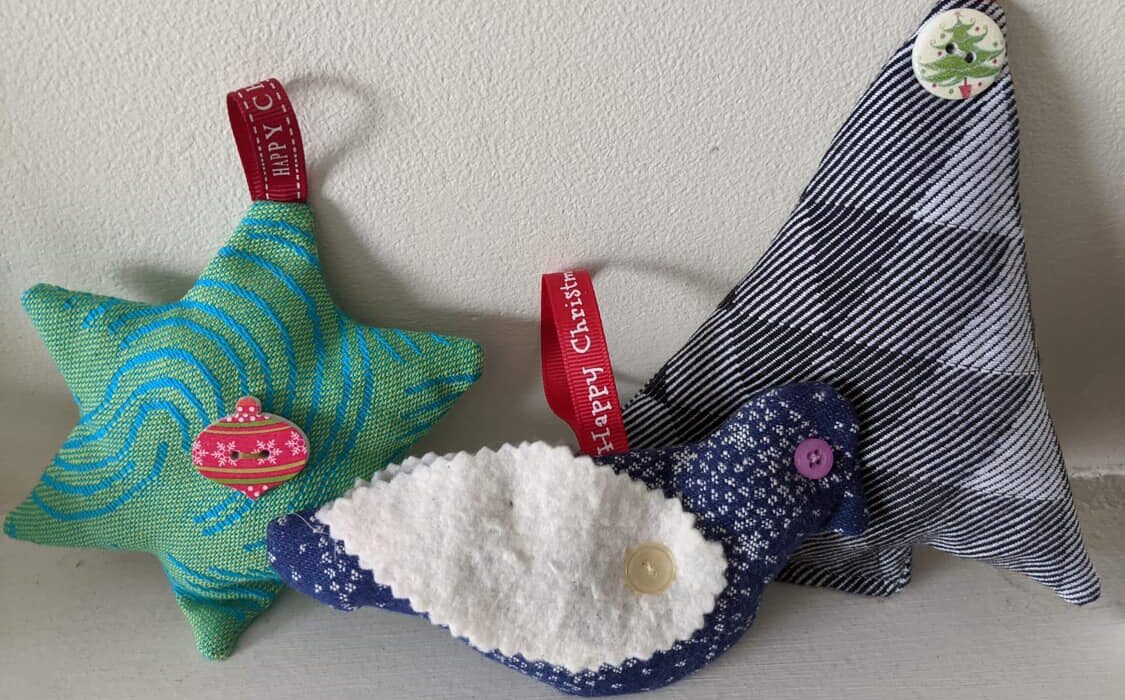
This time of year unlocks a myriad of memories; lots of warm and cheery ones, and some sad ones too. My mother-in-law past suddenly a few years ago, and each year as I unpack bin after bin of her beloved holiday decorations and ornaments, I remember the stories that came with many of them. There is one set in particular she always brought to my attention, telling the same story with a twinkle in her eye. It was a set of stuffed fabric ornaments with yarn loops sewn onto their tops. She sewed them by hand the year my husband was born and these stuffed ornaments adorned the bottom portion of the tree. She put them up, year after year, until he reached an age that he no longer felt that insatiable need to inspect each and every one. Now, 40+ years, and several grand children later, those wonderful keepsakes have seen their share of holiday memories. They have been well loved but when Zach was born 2 years ago I decided to retire many of the originals and create these new shapes for many more for years to come.
I hope you love these as much as we do! ~ Shannon
You will find the download link button is at the end of this post.
File Formats: Letter, A4, A0, PF, INPF, SVG
For a video on how to cut these shapes using a Cricut click here: https://youtu.be/3XNI9NclVG4

MATERIALS NEEDED
• Fabric Scrap, Fat Quarter of woven fabric or felt.
• OPTIONAL-Fabric marking pen/chalk if you want to trace and sew on the stitching line.
• Scissors or Rotary Cutter
• Pins
• Tailor’s Chalk or Disappearing Ink Pen
• Ruler
• Iron and Ironing Board
DESIGN IDEAS

- Sew a stuffed version, add a ribbon, create an ornament
- Single layer of felt to add a little extra to any gift wrapping
- Cut out of Heat Transfer Vinyl to add to any garment or gift
- Sew a stuffed version with the seam allowance on the outside for a more rugged version

- Add embroidery
- Cut one layer of felt out on the stitching line and one layer of a glitter paper out on the seam allowance, glue a ribbon and make a fun napkin ring.
- Cut them out of paper and create some fun garland
Sewing the Stuffed Version

Getting Started: My preferred method of sewing the stuffed version of these shapes is cutting the pattern piece out on the actual sewing line. Once the shape is cut out I trace the shape onto the backside of the fabric itself. Once I’ve traced the shape I stitch directly on the stitching line. This method helps keep as much detail in the curves of the shape.

Step 1: Using a 2.5-3 stitch length, stitch around the entire shape leaving the designated location open for turning and stuffing. Trim to 1/8” clipping curves as necessary.
Step 2: Turn right side out, press and stuff with polyfill.

Step 3: Use a needle and thread to close the opening using a ladder stitch.
That’s it! There are so many things you can create with these shapes. Let your eunoia (beautiful thinking) take over. Happy Sewing!


Leave a Comment